Component creation process description
This document describes the basic process of creating components in Rainbond.
Preconditions
- The planning and creation of the team has been completed.
- The cluster resources are sufficient.
There are currently two entries for the creation of components, namelyteam view/create component entry and application view/add component entry , and the creation process is the same.
Create components from source
The following will take the Java source code to create a component as an example to introduce the process of using the source code to create a component on Rainbond.
Provide the component name and the application to which it belongs. The most important thing is to provide the construction source information. The source code construction provides the code warehouse address, authorization and other information.
Wait for Rainbond to detect the source code. In this process, Rainbond will obtain the source code according to the code source information and perform language type and language specification detection, and read the component properties from the Rainbondfile file.
If the detection result is passed, the component will be created according to the detected component properties. If it is not passed, the user needs to change the relevant information according to the prompts.
After the detection is complete, the user can choose to start the build or perform advanced settings to set more component properties.If you choose to build and start Rainbond, it will obtain the source code again and build the source code according to the language type detected by the code.Please note that the source code type will only be read in the source code detection, so if the language type is changed in the subsequent development process, re-code detection needs to be triggered.
After the component is built, it can be accessed through the default domain name bound to the port.
Source address: https://github.com/goodrain/java-maven-demo.git
 detailed reference documents of various languages are as follows:
Java Language Reference
PHP Language Reference
Python Language Reference
NodeJS Language Reference
.Net Language Reference
Html Language Reference
Any source code that defines a Dockerfile Reference
Use of Git and Svn
When creating a component, select Git or SVN according to the type of code repository, and correctly fill in the code repository address of the application and the code to be usedbranchor tag. The default branch of Git is master, the default tag of SVN is trunk.
The default parameters for svn checkout code include:
--username --password --non-interactive --trust-server-cert
When git obtains code, it supports account authentication, key authentication and Oauth2.0 authentication.
- Account password to connect to the code repository
If you need to use the account password to connect to the code warehouse, click Fill in the warehouse account password, and fill in your login user name and password correctly.

- SSH connection code repository
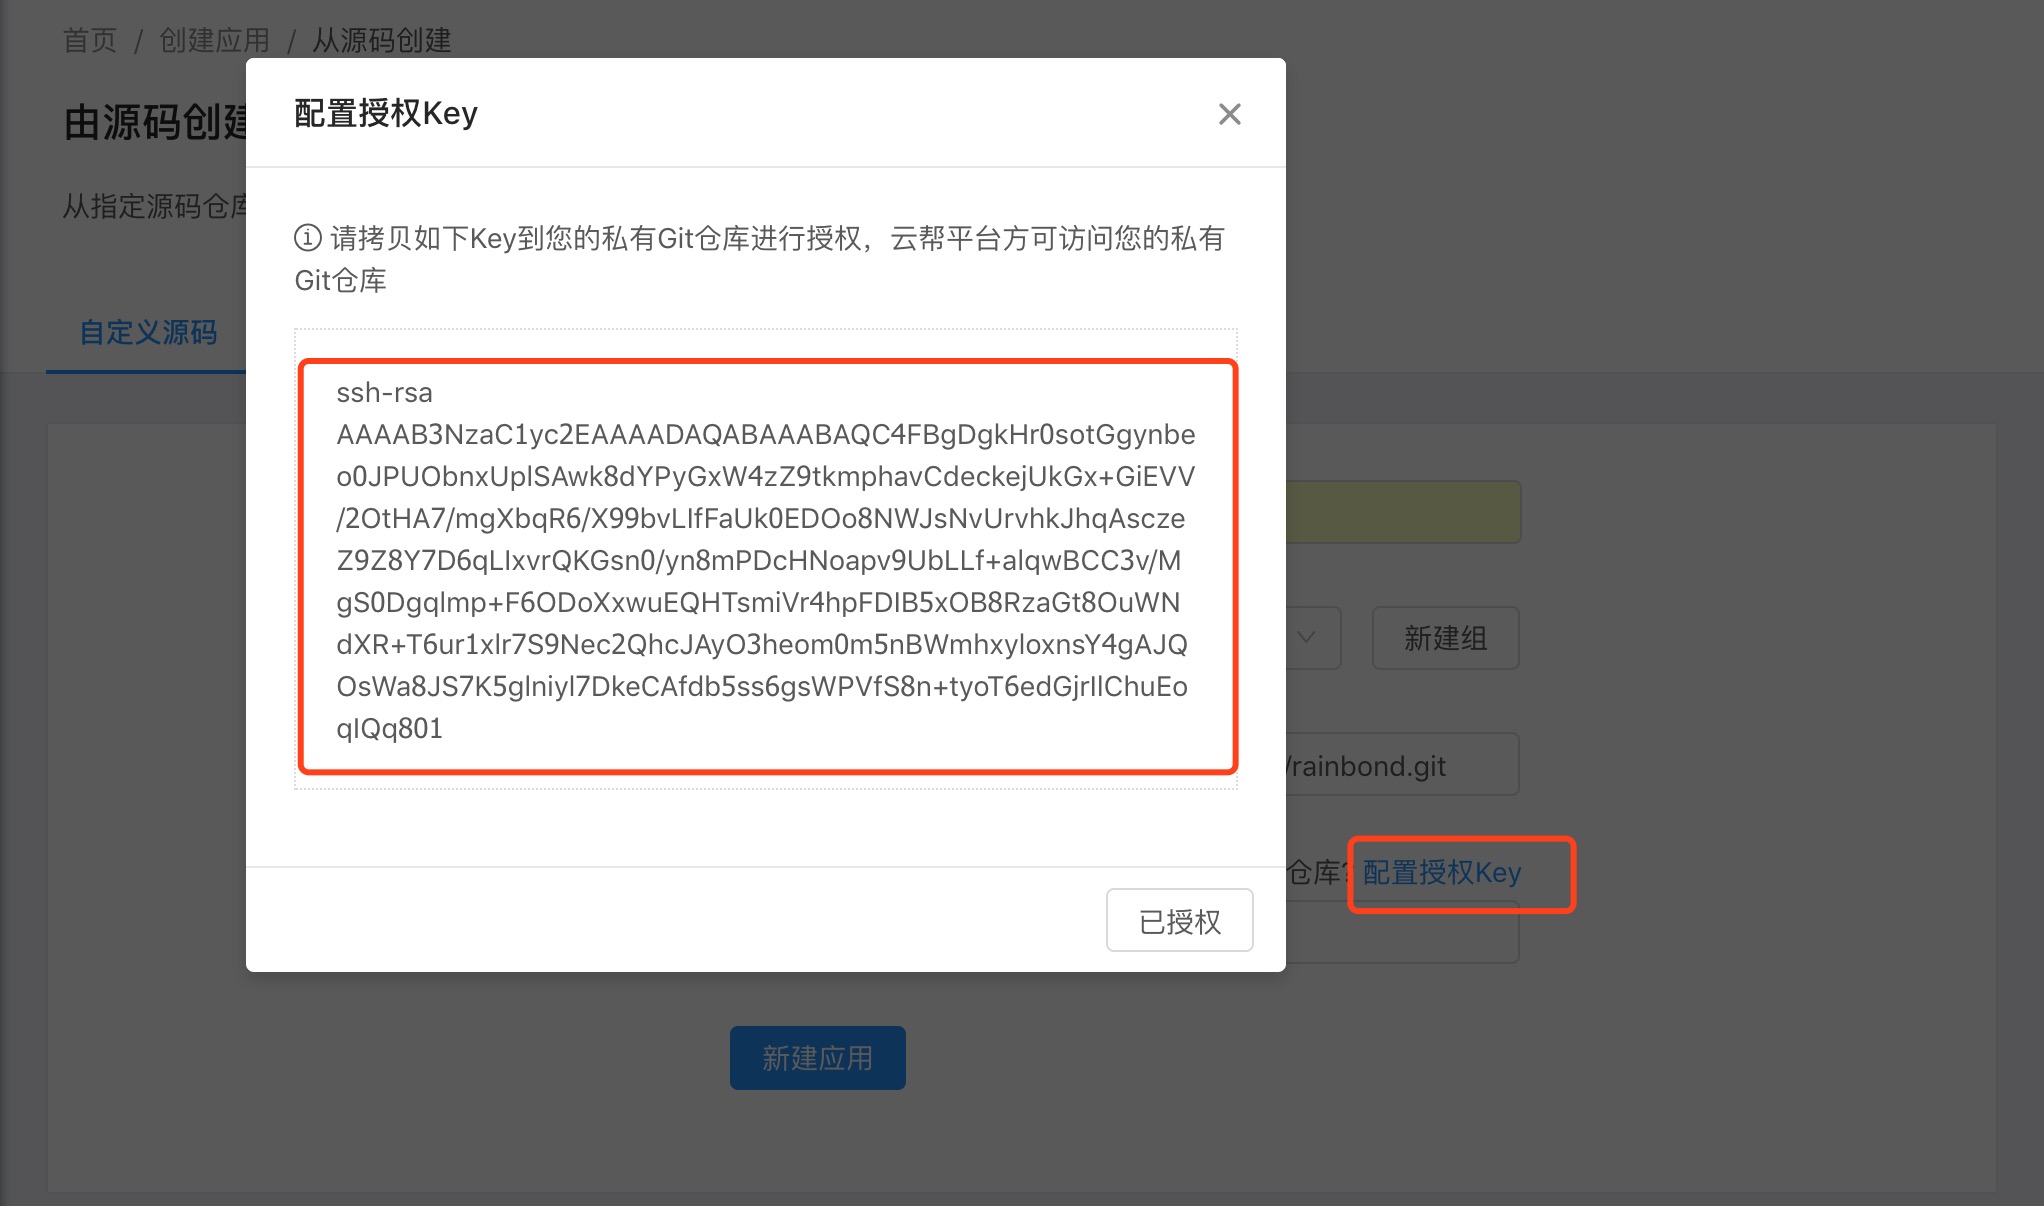
If you need to use the SSH key to connect to the code repository, click the Configure Authorization Key below, a key will be generated for you, and then add this key to the deployment key of your code repository.

Created from a Docker image
The following will take the official image of Nginx as an example to introduce and demonstrate the process of creating components with Docker images on Rainbond. The same as the source code creation process, the difference is that the provided build source information and types are different. The process is as follows:
Provide the component name and the application to which it belongs. The most important thing is to provide the build source information. The image construction provides the image name and authorization information.
Rainbond will obtain the image based on the provided image information, and Rainbond's ability to obtain the specified image is the basis for successful creation.At present, Rainbond's detection specifications for mirroring are more flexible, so it must be noted that the mirrors that pass the detection may not be able to run normally, such as the above-mentioned mirror types that Rainbond cannot run.When Rainbond obtains an image successfully, it parses the metadata of the image to obtain the attribute information required to create a component.
If you want to be able to add environment variables in batches, it is best to define them in the image metadata (ie in the Dockerfile).When Rainbond recognizes it, it will automatically get it from it.
After the application detection passes, the component can be created.
Components are accessible after the build is complete.

The components created from the Docker image are done.If you create a component from an image in a private image repository, you need to pay attention to the following types of problems:
- The private repository Https is well-configured, and mirrors can be pulled directly.
- If the private warehouse uses a self-signed certificate, the node where the Rainbond Chaos component is located needs to configure the private warehouse trust, refer to the operation and maintenance documentation.
- If the image repository is private, please provide the correct account and password information.
Example deployment image with startup command
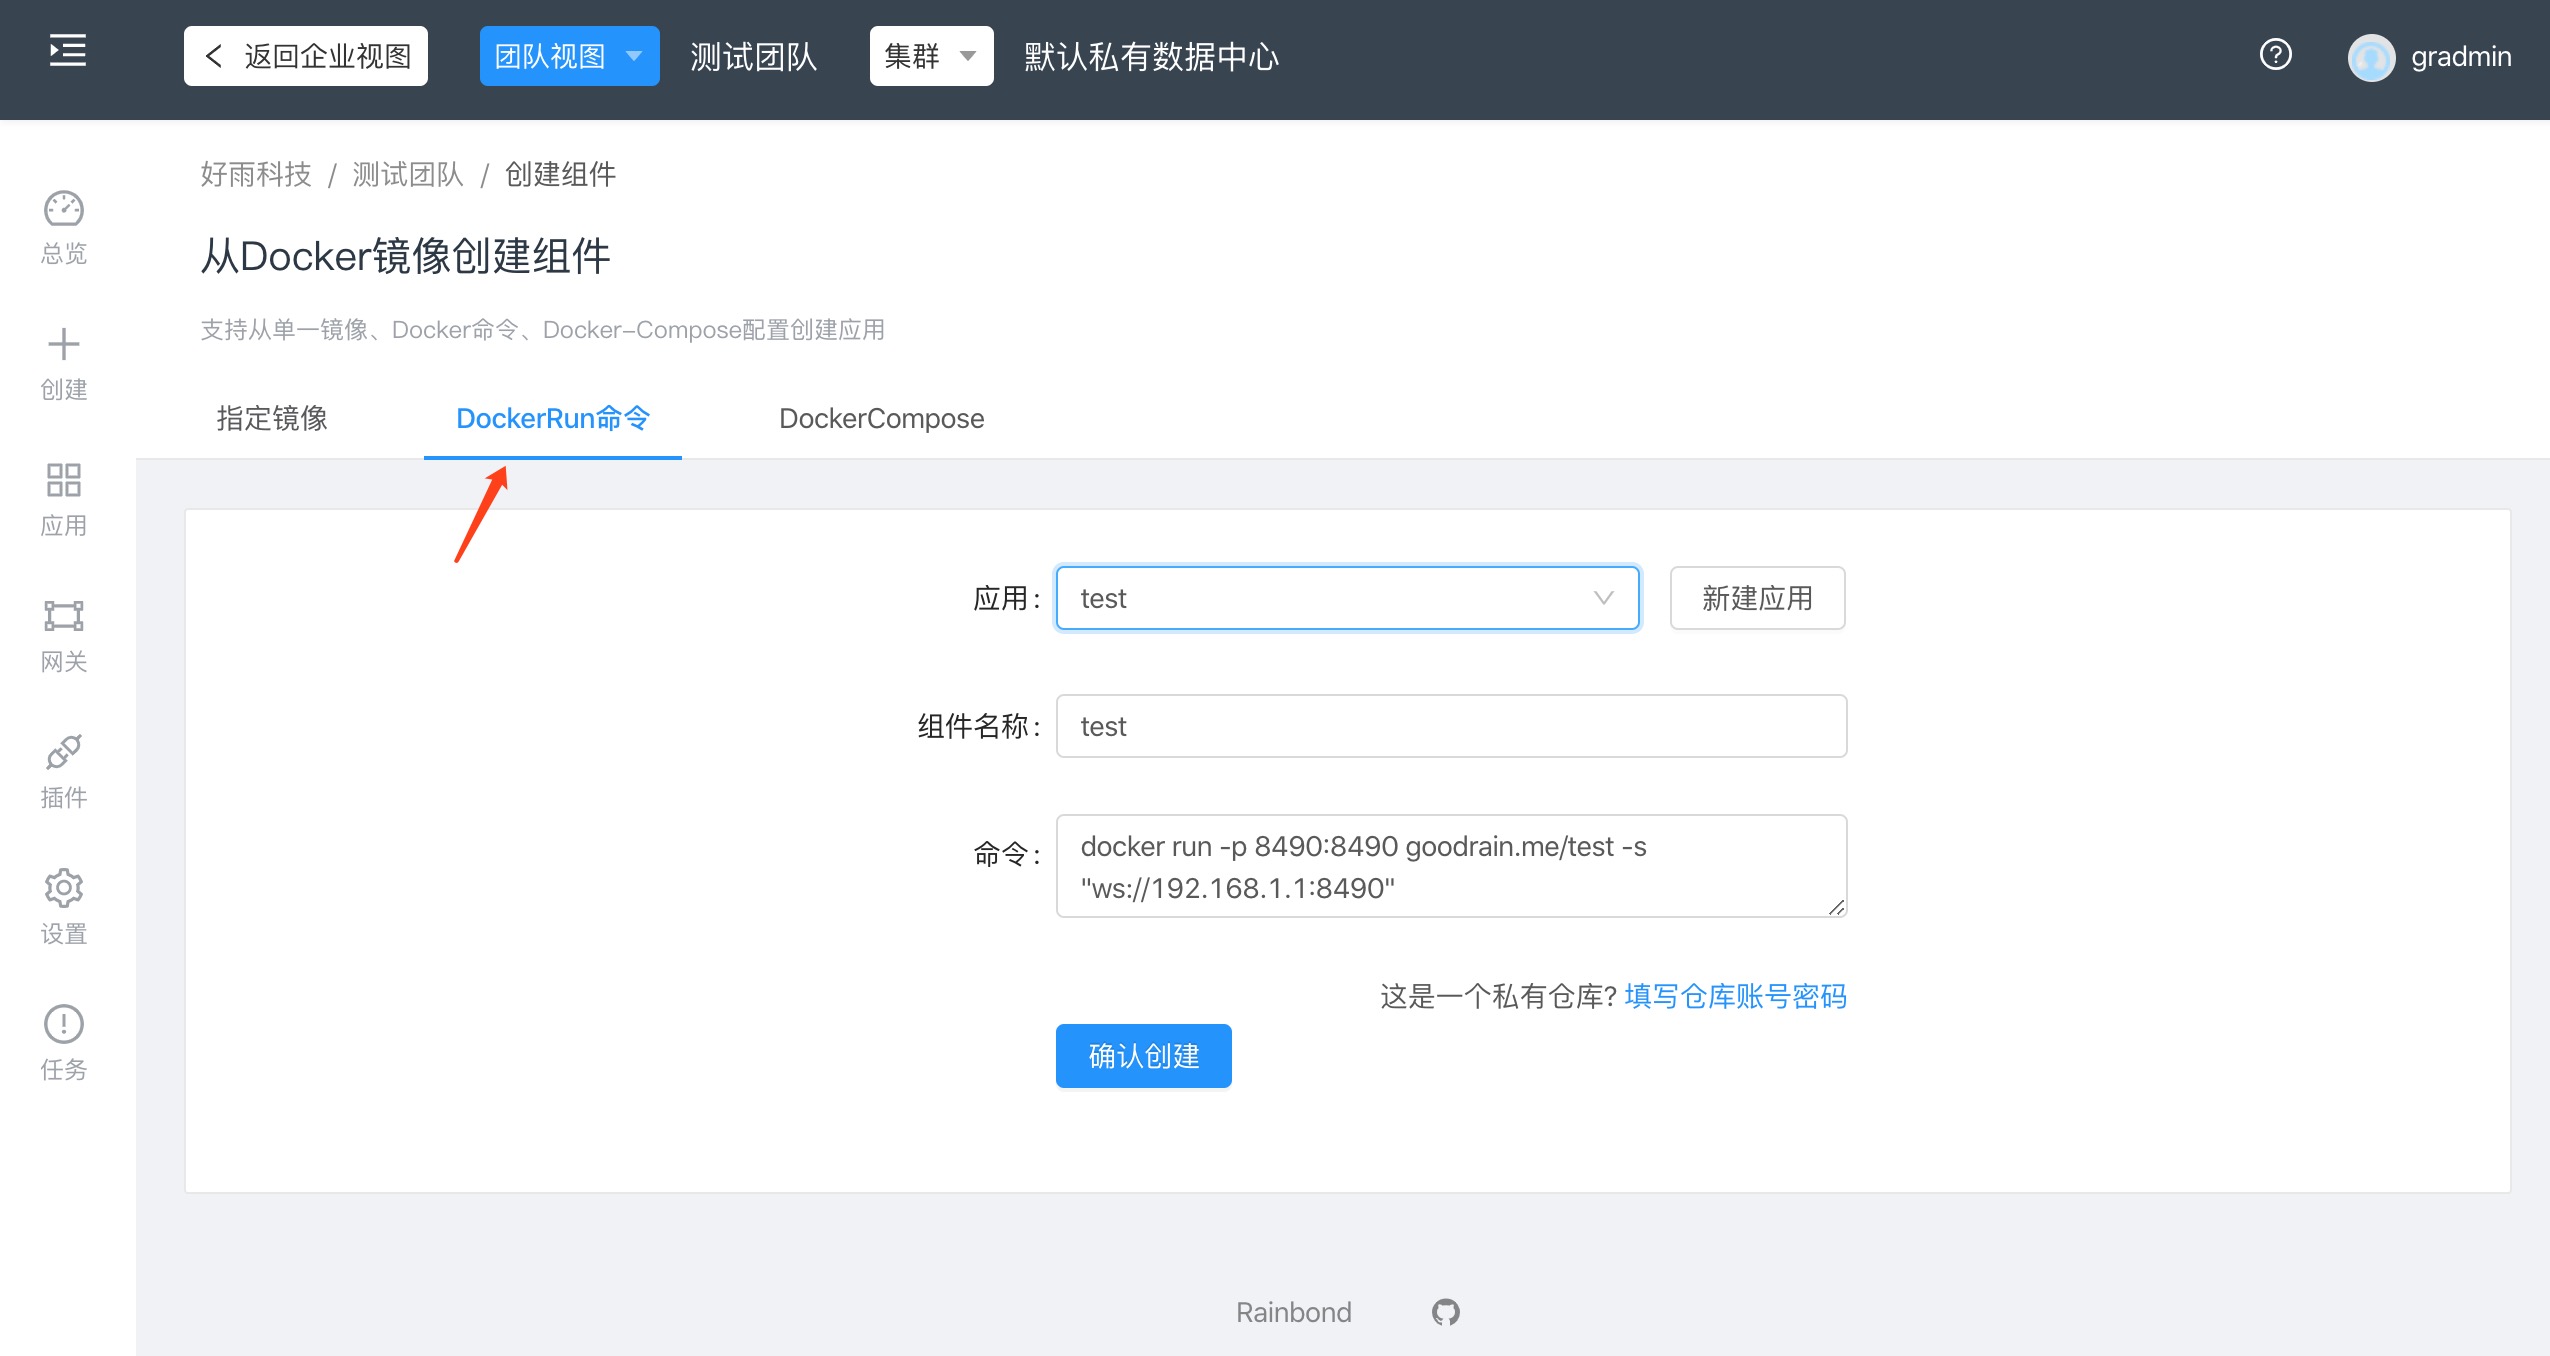
- Deploy via docker run command:
docker run -p 8490:8490 goodrain.me/test -s "ws://192.168.1.1:8490"

- By specifying the mirroring method:
- Mirror address:
goodrain.me/testand build - Modify the startup command at the application build source to
-s "ws://192.168.1.1:8490"
- Mirror address:
goodrain.me/testPlease replace with your own mirror

Install from the market
Rainbond proposes an application model, the Rainbond Application Model (RAM), which is the standard Rainbond application specification.Based on this model and Rainbond's application market mechanism, one-click installation/upgrade is finally realized.The highly automated delivery experience improves enterprise application delivery efficiency and reduces delivery costs.
The application marketplaces provided by Rainbond are divided into two categories:
1. Local component library
info
The local component library is the application market that comes with Rainbond, and all the application templates you publish under this enterprise can be saved here.Other users within the enterprise can quickly replicate the application by installing the application template from the local component repository.Publishing to the local component library can refer to: Make a reusable application template.
2. Open source app store
info
The open source application store is an application market officially supported by Haoyu Technology. All Rainbonds can connect to this market and install the above applications with one click.
The main difference between the local component library and the cloud application market is that the applications you publish in the local component library can only be circulated in the deployed Rainbond environment.Applications published to the cloud application market can be installed in multiple Rainbond environments with one click.
Install apps from open source app stores
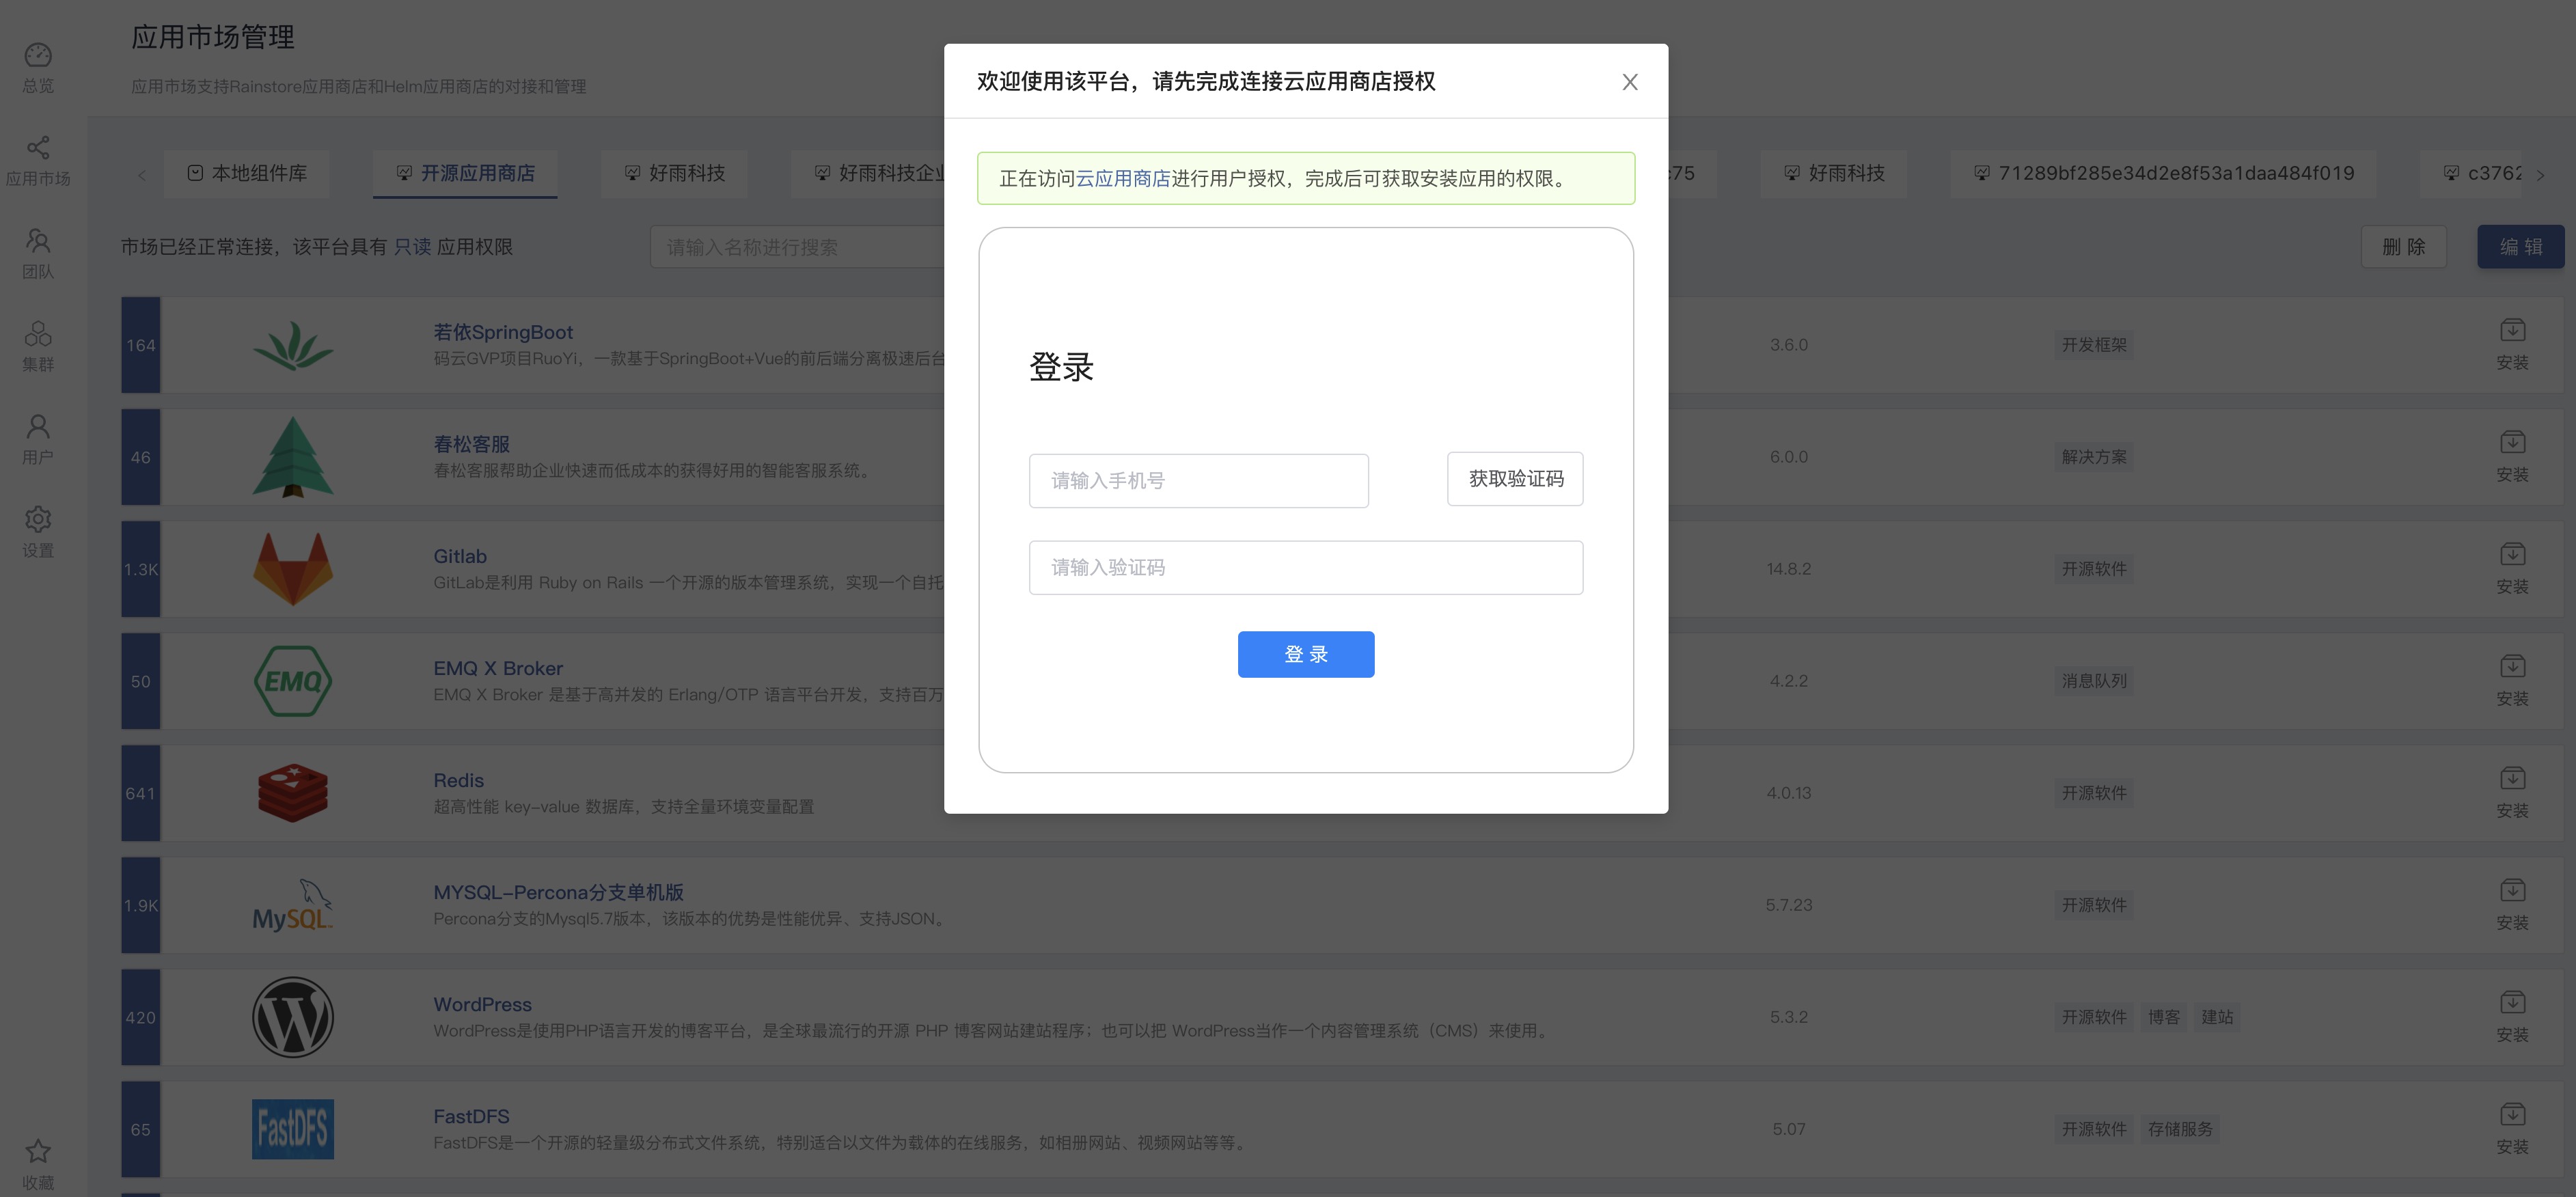
When you have deployed Rainbond, click the App Market button on the left, select Open Source App Store, and you will see the following page.

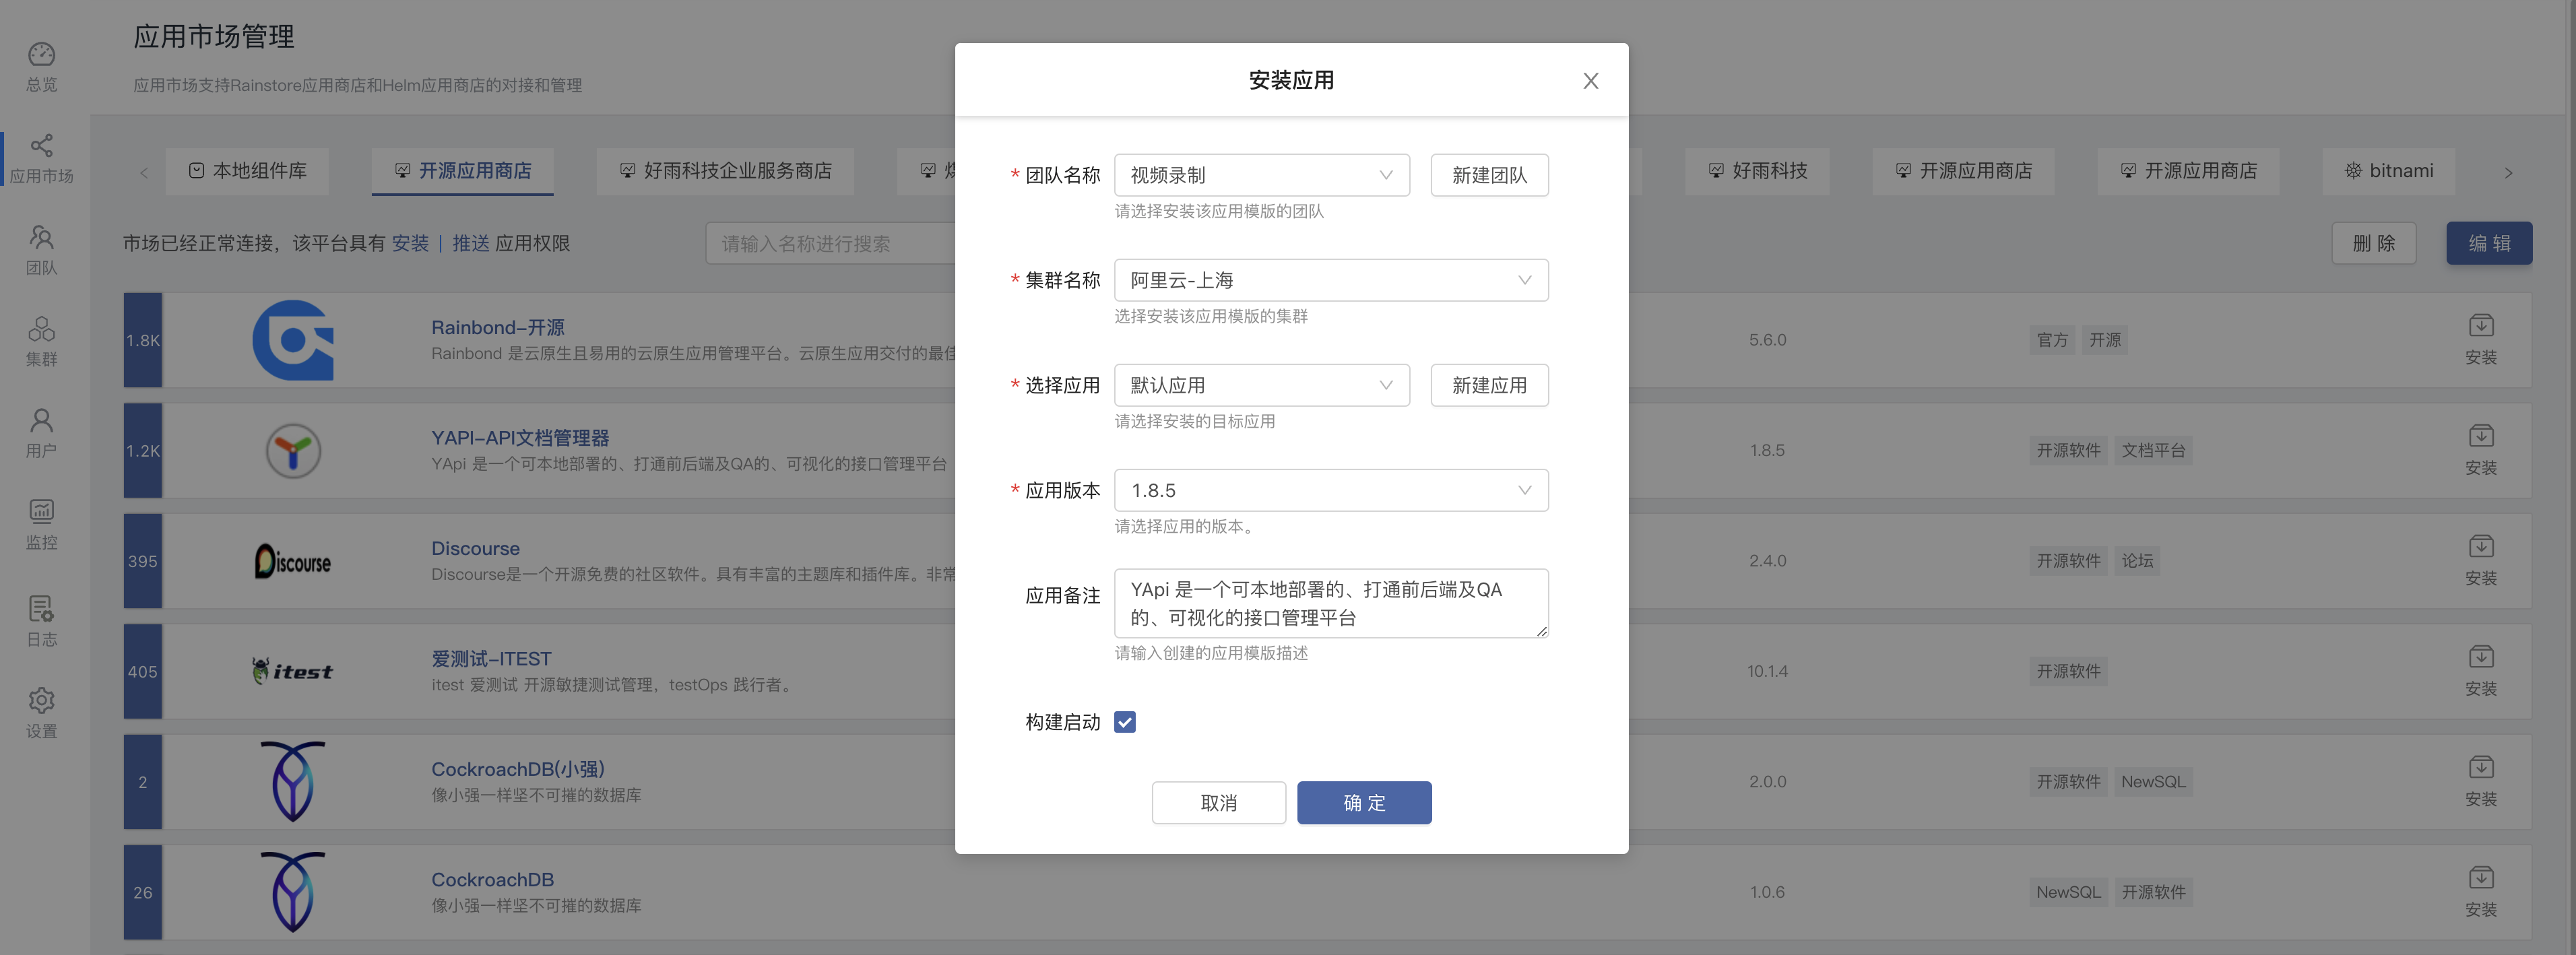
After obtaining authorization, you will be able to click Install on the right side of the app, as shown below:

Select the team and application you want to install, it will jump to the application, you can see the application topology, it will start automatically.Then you can access the app

Install the app from the local component library
After you deploy Rainbond, you can refer toto make a reusable application templateto make your own application.Here, we have made a WordPress application, which is the same as installing it from the cloud application market. Click to install on the right, and the one-click installation is complete.You can now access your own app.

Installation from the local component library will be a key process of application delivery, and the application of the local component library supports one-click installation and continuous upgrade.